The Anatomy of Homemade Granola

DSC02573.jpg

Hi friends! Today I’m sharing my homemade granola recipe. Well, it’s not really a recipe because every time I make granola, I add a different combination of things. It’s never the same but it’s (almost) always delicious! I just use whatever is in my pantry because life’s all about using up what you already have, amirite?

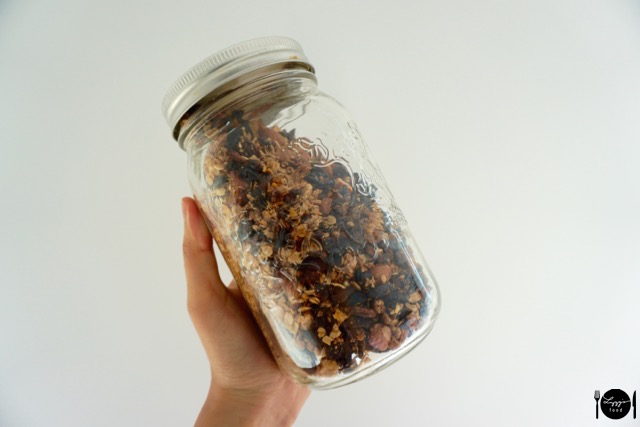
Here are the components that I use for my granola – anatomy style because I’m nerdy like that. These guidelines make for 1 1L mason jar full of delicious granola.

  1. The skeleton – oats, duh! I prefer using rolled oats, but I’ve also used quick oats (which I’m using in the pics here) and steel-cut oats, and they all work! Add 2 cups of a big mixing bowl.
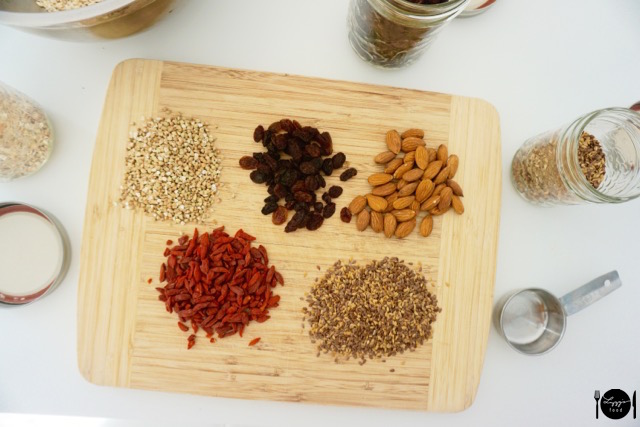
  2. The muscle – this is the good stuff, the meat on the bones. Add 1/2 cup of each creative add-in you can think of. You should limit it to 5 different add-ins though, or else your oats become your add-in. Here I added almonds, raisins, whole flax, goji berries and buckwheat groats. Other favourites of mine are shredded coconut, pumpkin seeds and dried cranberries!
    1. Tip: Unless you want fully chocolate granola (in which case you should add cocoa powder), don’t add chocolate chips in yet because they will melt in the oven. Add chocolate chips in after the granola has cooled!
    2. Another tip: roughly chop some of the larger ingredients like almonds so that everything is about the same size.DSC02566DSC02567
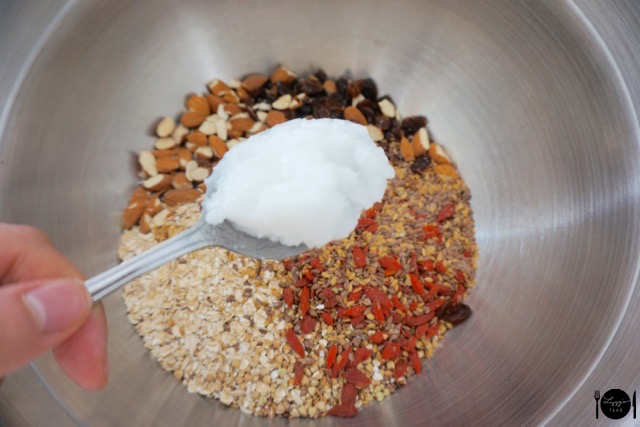
  3. The fat – literally, the lipids. I find that for granola, you can’t skip out on the fats – it just doesn’t taste the same. You can add healthy fats though! I prefer coconut oil, but you can also use olive oil, or even something like peanut butter. Add 2 generous tablespoons.DSC02568
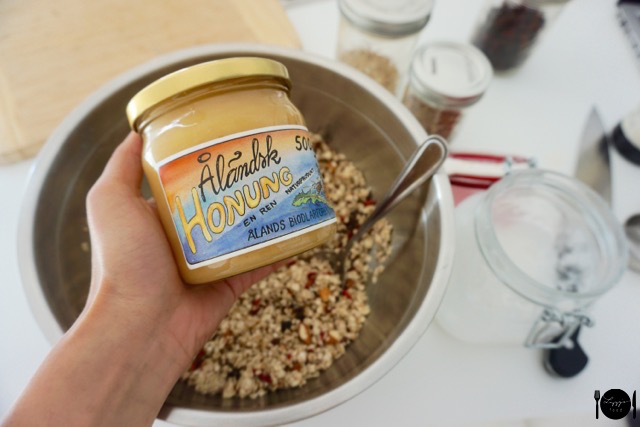
  4. The heart – salty and sweet. Because this makes everyone love the taste of this granola… haha get it? Always add a pinch of salt, this goes a long way. Vanilla extract is optional, but if you like it, add 1-2 tsp. Also add 1-2 tbsp of your sweetener of choice. I usually use maple syrup but my parents just brought me this honey from the Aland Islands so I wanted to try it out!
    1. P.S. I know honey is not technically vegan because bees make honey. This is a whole topic on its own but since I follow a vegan diet primarily for health reasons, I don’t mind eating honey once in a while.DSC02569

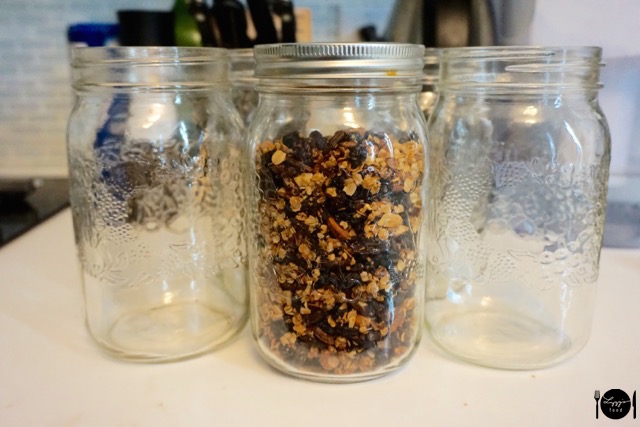
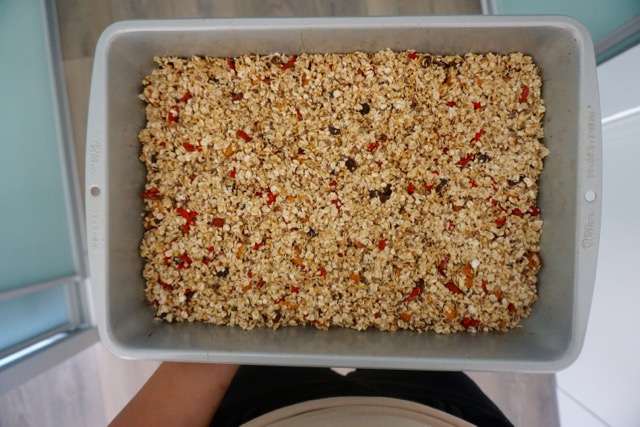
And that’s it! Mix all ingredients together in a mixing bowl. Don’t be afraid to use your hands to get everything incorporated. Bake in the oven at 350C for 15 minutes, stir, then bake for another 10 minutes. Let the granola cool completely before transferring to a mason jar for storage.

DSC02570

DSC02571

Enjoy!

Oreo Re-Cookies


DSC02173

Yes, Oreos are already cookies. And yes, I made another cookie out of an already existing cookie. Why? The truth is I didn’t have any vegan chocolate chips on hand and was desperately searching for a vegan cookie add-in. If you didn’t know already, Oreos are vegan. What? I know. Crazy. It’s one of those accidentally vegan products that kinda sketch you out a little… but hey, no complaints because they’re so tasty.

I only used the chocolate cookie part of the Oreo in the cookie dough. I used the middle icing by melting it and drizzling it over the baked cookies. The melted icing turns out clear instead of white, which is peculiar… but it still tasted great anyways.

I brought these cookies to school and they were very well received, even by people who are skeptical with vegan baking. Not convinced? Give them a try and let me know what you think!

DSC02175


Oreo Re-Cookies

Ingredients – makes 15-18 cookies

  • 2 cups all purpose flour
  • 1 tsp baking powder
  • 1 tsp baking soda
  • 1/2 tsp salt
  • 3/4 cup brown sugar
  • 1/2 cup coconut oil
  • 1/4 cup non-dairy milk
  • 1 tbsp vanilla extract
  • 1-1.5 cups crumbled chocolate Oreo cookies
  • Remaining icing from the Oreos
  • 1 tbsp non-dairy milk for the icing
  1. Preheat your oven to 350F.
  2. Melt the coconut oil in the microwave if it is still solid.
  3. Add the coconut and the brown sugar into a large mixing bowl and combine them well.
  4. Add the non-dairy milk and vanilla extract, and mix together with a whisk. I used almond milk, but any dairy or non-dairy milk would work.
  5. Add the flour, baking powder, baking soda and salt to the mixing bowl. Give this a good mix. It should be crumbly.
  6. Add as much broken-up Oreo cookies as you want (just the chocolate parts). I just crumbled them up with my hands. It’s nice to have smaller pieces and larger pieces. Just don’t add too much that the dough won’t hold the cookies together anymore!
  7. Take a spoonful of cookie dough and use your hands to shape it in a flat circle. Place on a baking pan. You shouldn’t need to grease the pan because there is already coconut oil in the dough.
  8. Bake cookies for 10-12 minutes or until they are slightly golden.
  9. While the cookies are in the oven, put the remaining middle icing from the Oreos in a microwave safe bowl.
  10. Add 1 tbsp of non-dairy milk, and microwave at 30 second intervals until the mixture is melted. Stir between intervals.
  11. Let the cookies cool for 5-10 minutes after removing them from the oven.
  12. Drizzle the icing on top of the cookies.

Enjoy!

Lizzy

Vegan Date Squares

I went to a tea party today!

My amazing and super successful friends are moving to San Fran to start up their careers, so we were invited over for a fancy tea party – hats and croquet and all. Laura was so sweet and made sure there were vegan options for me. I appreciate it so much when my friends are so supportive. Tina made vegan pain-au-chocolat, and I made vegan date squares!

Last Import - 1 of 2 (1)

Date squares are a classic healthy dessert since no additional sweetener needs to be added. They’re so easy to make with only few ingredients and a handy dandy food processor. No baking required! I adapted my recipe from Oh She Glows, with a crunchy twist on top.

Ingredients

Base

  • 1 cup almonds
  • 1 cup rolled oats
  • 8 medjool dates, pitted
  • 1 heaping tbsp coconut oil
  • pinch of salt

Filling

  • 20 medjool dates, pitted
  • 1/2 cup water

Topping

  • 1 cup rolled oats
  • 1/4 cup buckwheat groats
  • 1 tsp coconut oil
  • 1 medjool date, pitted
  1. Blend all ingredients for the base into a food processor. Mix on high until a crumble forms.
  2. Firmly press the base into an 8×8 baking pan (or really whatever size you want). Place this in the fridge to cool the coconut oil until your filling is complete.
  3. Blend all ingredients for the filling in the food processor on high until smooth. Use a spatula to evenly spread the date filling onto the base.
  4.  Pulse together all the ingredients for the topping in the food processor. Don’t pulse too much because you want to keep the texture. Sprinkle on the topping and gently press it down into date filling.
  5. Place baking pan into the fridge overnight to set. Then cut them into squares and spread the love.

Last Import - 2 of 2 (1)

Enjoy!

Lizzy